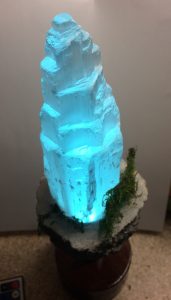
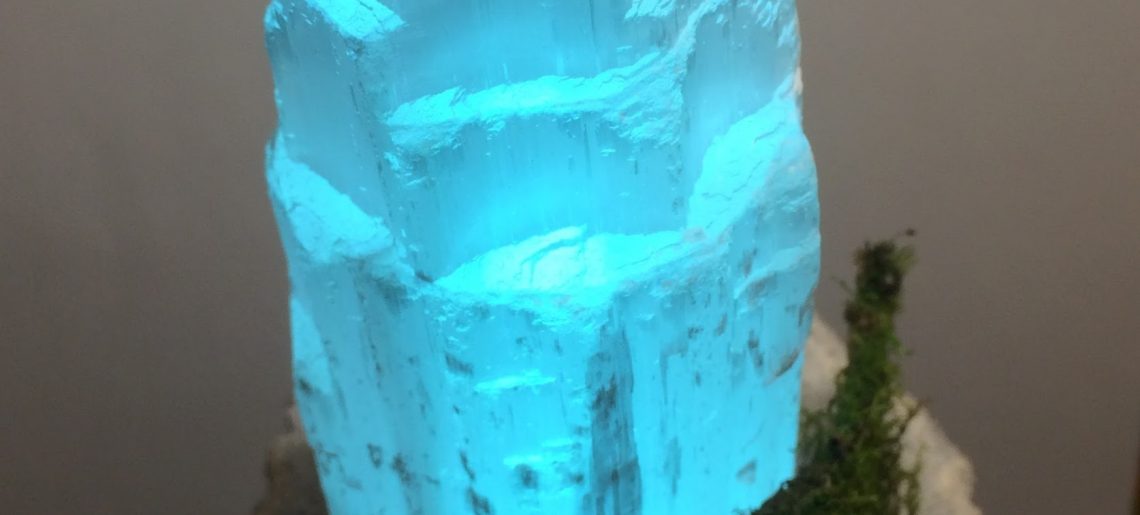
This is my take on the colour changing crystal island shown by DIY Perks at this link https://www.youtube.com/watch?v=Jh618yi0JZY.
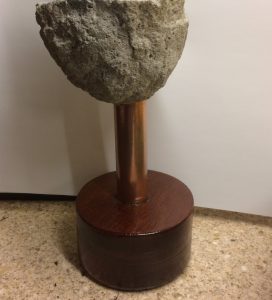
I was in need for a birthday present for a friend so I decided to adapt the excellent design that DIY Perks came up with. Firstly I decided to make it free standing to remove the need to put fixings into the wall. I got 2m of 22mm diameter pipe and then cut off 20cm to make the central support for the floating island. I made this the same way as shown in DIY Perks video by making a foil mould but instead of bolts, I used a cardboard tube that was just slightly larger than the copper pipe. Once the island was set, I removed it from the mould and test fitted the copper pipe which was held in place temporarily with blu-tack.
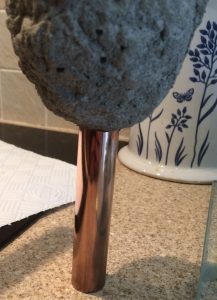
I then moved on to create the wooden base by glueing 2 pieces of 10cm x 10cm x 2 cm pieces of mahogany to each other. This was then cut into a circle with a large circular drill and then sanded down to remove sharp edges. Finally, a 22mm hole was drilled in the centre for the copper pipe to fit into and a 4mm hole was drilled from the outside for the power cord.
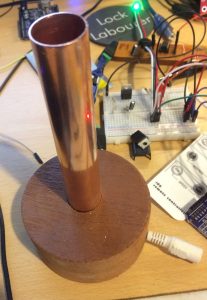
I then assembled the base and the concrete island, using grip fill to connect the island and the pipe and epoxy between the base and the pipe.
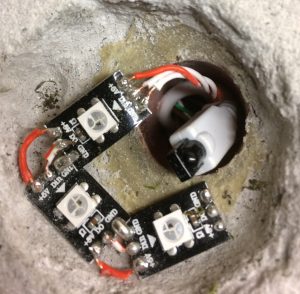
As for the electronics, I used 3 WS2812B individually addressable LED with a 44 key IR Remote with an accompanying receiver. For the first prototype, I used an Arduino nano on a breadboard due to the ease of use. However, in the final design, I used an Arduino Pro Mini due to its lower cost and the fact that it should only be necessary to program it once. The code is open-source and is available from GitHub at this link: https://github.com/W-R-A/IslandControl.
The LED’s and IR receiver sit just below the selenite tower, as shown in the picture below.
The schematic for the electronics can be found at this link: https://easyeda.com/Ross-Andrewartha/Colour_Changing_Crystal_Light-fc1098e4bcf741e8b0647f19d678b906.
With all the electronics functioning correctly and hidden inside the tube, I applied a coat of varnish to the wood and the pipe and with that the project was complete.
